When I first thought about doing this project I envisioned each page having a small panel on the side giving information on the website. After I actually started archiving sites and realized just how huge the mountain of work ahead of me was, the overlays took a back seat. It seemed like a good idea but something that was not feasible.
Flash forward to 2022 and here they are! On every page that is either proxied or mirrored there now exists a little floating box in the left margin of each website. In its current state it displays the site’s hosting, a link to the original (and Wayback source), whether it is still accessible natively, the most recent activity (inaccurate for currently active sites), how much content there is, and if there are any problems with the current setup for that page. I made sure to include a link back here to make navigating between pages more accessible.


Exporting Information from Database
With all of the site information in the database setup from the previous tutorial, we now need to export some to a file. This might seem kind of counter-intuitive at first, but it boils down to the fact that we cannot execute server-side code (PHP) for proxied websites. For this reason everything has to be done on the client’s machine in Javascript. Javascript cannot query a database so the relevant information must be available as a file on the server. To dump the data this command can be executed:
select new_domain, hosting, url, wayback_link, still_up, last_active, posts, problems from sites where new_domain!="" into outfile "/var/lib/mysql-files/floater_info.csv" fields terminated by "\t" lines terminated by "\n";
And now that the query results are stored in that file, it can be moved to the correct directory on the server:
sudo mv /var/lib/mysql-files/floater_info.csv /var/www/p101/global-scripts
Javascript to build Overlay
There are two functions to build the panel, one to retrieve the site data and the other to make the content viewable. I’ll be 100% honest and admit that I shamelessly copied this code from a Stack Overflow answer and it works flawlessly. The second function I wrote from scratch.
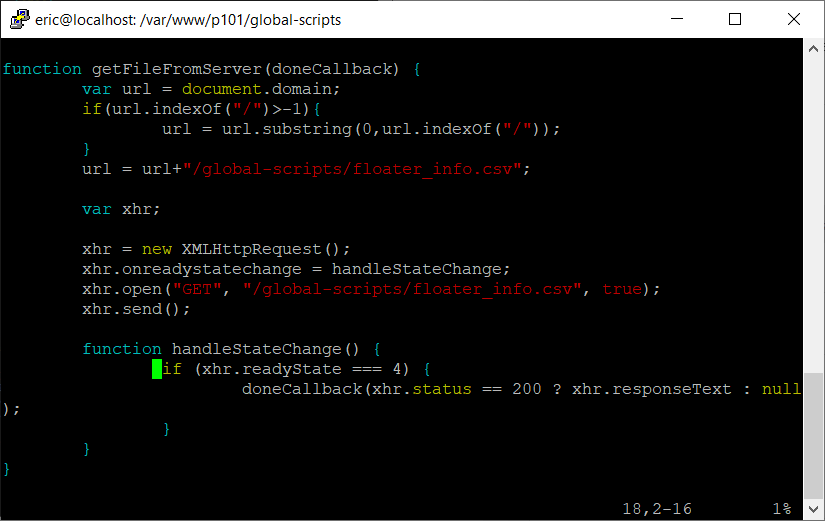
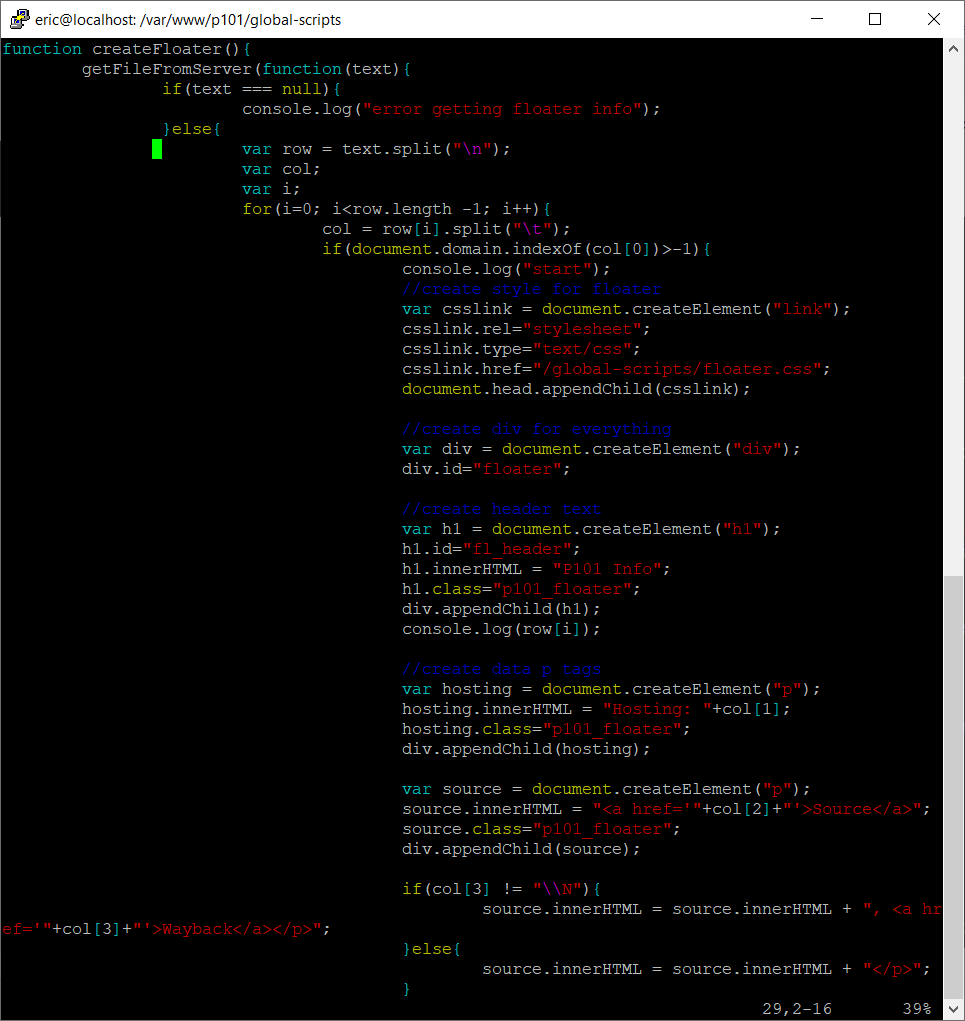
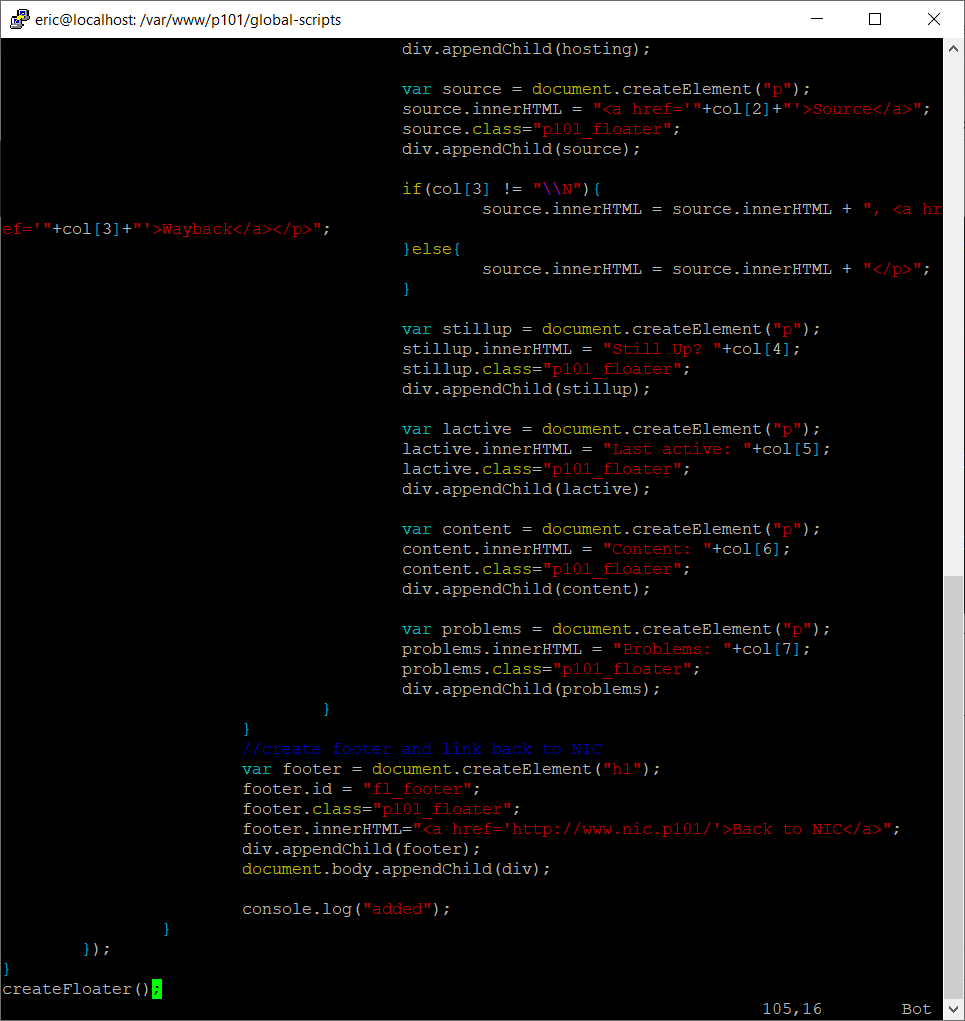
The function that does the heavy lifting starts by reading through each line of the site data until it finds the domain of the current site. When it finds it, the program has the webpage create an HTML <link> tag pointing to a custom CSS file (more on that later). Once that is done it creates a <div> tag to contain the desired information. Each line is then added to the <div> as either a <h1> for the header and footer, a <p> for regular text, or a <a> for a hyperlink.
In order for any of this new content to be placed in the page, we must once again modify the apache2.conf file. This script must be included along with the scripts referenced in some of the other posts.

Adding CSS
The third fundamental language for web development is CSS, which stands for Cascading Style Sheets. This is what makes websites pretty and not just a white page with black text. One perk of CSS is that it can be passed on to many different elements on the page to standardize everything. This is great, but it is exactly the opposite of what I want. Ideally there is one standardized overlay that looks the same on every single site. In order to do this I have to break the CSS of each page and replace it with my own for the specific <div> that contains this information.

CSS has a different syntax than HTML or Javascript. An element is called by its tag, class, or id and then in a set of curly braces attributes are specified. These attributes are standardized and there are many websites that list and describe each. Unfortunately there is no catch all (that I could get to work) to completely reset the styling for an element, so I had to overwrite each attribute for each element. It was a lot of whack-a-mole using the browser dev-mode to find out what was affecting the appearance of the content I added.
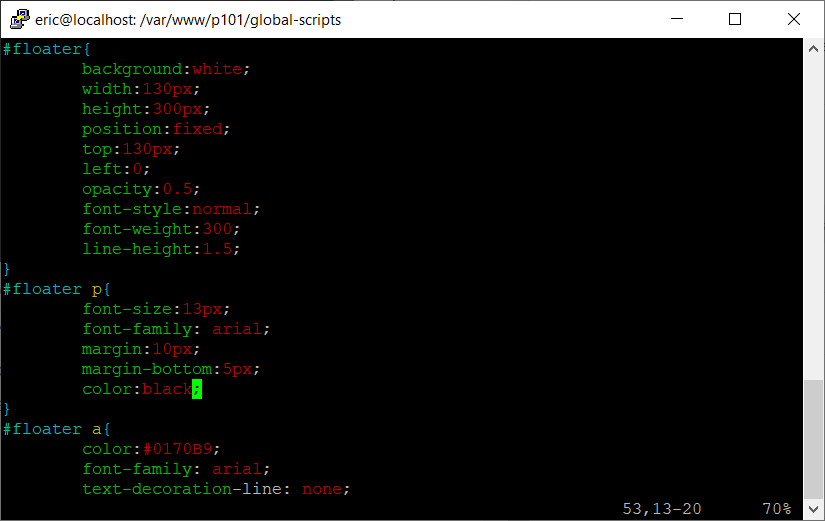
This is an excerpt of the floater.css file to overwrite the styling of each element in the floating overlay. The #floater at the beginning of each line indicates to the browser that these attributes apply to the <div> element with the id of floater. With this CSS applying to the content created in the Javascript functions it looks how it is intended. There are undoubtedly some inconsistencies because I haven’t checked every single website’s compatibility with the informational overlay, but it is definitely functional.