This is the reminder that you didn’t know you needed to back up your important data and verify that it works! The cloud hosting provider that I had been using decided to delete my VPS and their support is unresponsive. I have since moved to a new hosting company that has a much better track record. But because I was unable to grab data before the server disappeared I am forced to restore everything from my backups. So here is a guide, mostly for my own future reference, about how to start from the ground up.
Initial Setup
Gaining Access
I can’t speak for all cloud providers but I was only given an IP address and a root password.
ssh root@192.3.161.139
Enter Password:
Creating a Default User
It is bad practice to use the root user for all commands since it is much easier to irreparably break things, so I started off creating a new user. Your distribution may very but mine did not have a sudo group so I had to make one.
adduser eric
addgroup sudo
vigr
The last command opens /etc/group, a list of all user groups on the system. After the sudo entry add the new user so it looks like the following. I’m not entirely sure what the other values mean but I left them how they were initially.
sudo:x:1001:eric
None of the changes that were made “stick” until a restart so I then did exactly that.
shutdown -r now
Adding SSH Key
Initially I was given a password to access the root user on this server but ultimately that is a security risk. An attacker could brute force this password and then have root access to the entire system. One of the first things to do upon setting up a new VPS is to remove the ability to login with a password. The ideal replacement is key-based authentication. In this sense a key is a randomly-generated string that acts like a hundred-character long password that is used automatically so that you do not have to memorize it. I’m not going to go over how to create a key in this post but after a quick search this is approximately what I did.
mkdir ~/.ssh
cd ~/.ssh
vi authorized_keys
//paste your public key into this document, then save and quit
sudo chmod 700 .
chmod 600 authorized_keys
Revoking SSH Password Access
Only do this after confirming that you are able to SSH into the server using a key, otherwise you may lock yourself out.
sudo vi /etc/ssh/sshd_config
//uncomment the line that says "#PasswordAuthentication no" by deleting the #
sudo service sshd restart
Changing Server Hostname (optional)
A hostname is what the server calls itself. It does not really matter what this name is, it’s more of a personal preference. The default hostname of the new server was the company’s name followed by a random string of hex numbers. I wanted to keep naming consistent with previous servers I’ve used. I followed steps from an old Stack Exchange post.
sudo hostname eric-vm5
sudo vi /etc/hostname
//change old hostname to new one
sudo vi /etc/hosts
//change old hostname to new one
sudo restart
Apache
I have mentioned Apache in previous posts but I never really went over the installation process. I followed a Digital Ocean tutorial the first time I did this and each time I have to move to a different server I find myself coming back to it because it is so informative. I’ve never had to do this before, but this time I had to manually create a usergroup for Apache (otherwise it wouldn’t install).
sudo addgroup adm
sudo apt install apache2
The next step is to configure the server’s firewall. A firewall is a protective measure so that the server can only be accessed on a few designated ports (80 for HTTP, 22 for SSH, etc).
sudo ufw allow in "Apache"
sudo ufw allow in "OpenSSH"
sudo ufw enable
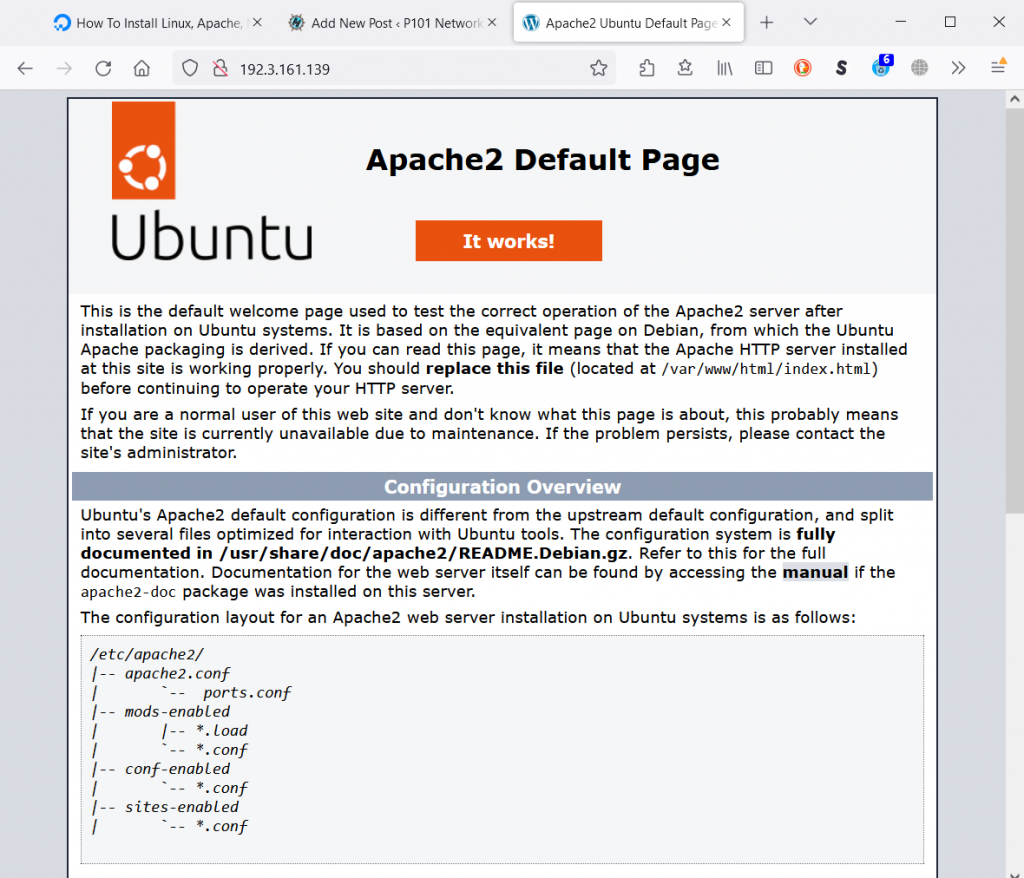
After configuring the firewall the installation must be tested. I enabled the default Apache site and then visited it in my web browser. I also decided to enable some plugins which will be used later.
sudo a2ensite 000-default.conf
sudo a2ensite headers
sudo a2ensite substitute
sudo a2ensite ssl
sudo a2ensite rewrite
sudo a2ensite proxy_http
sudo systemctl reload apache2
MySQL
Relational databases are very important to the work that I have been doing preserving websites. They hold data efficiently and are required in order to run WordPress.
sudo apt install mysql-server
sudo mysql
Once MySQL is installed it is necessary to set the root password. This is done using the bit of SQL syntax below. Obviously the password (‘pass’) should be something more complex than this.
mysql> ALTER USER 'root'@'localhost' IDENTIFIED WITH mysql_native_password by 'pass';
Because this MySQL installation will be facing the public internet you must secure it by running mysql_secure_installation. This script hardens the database by disallowing remote logins and removing a few features which open the server up to exploitation.
sudo mysql_secure_installation
Now the MySQL program can only be accessed by sudo mysql -u root -p and then specifying the root password. I am too lazy for this and do not want to memorize this 16-character password so I found a way to login without indicating the user and password. This may make things less secure but, if someone has your sudo password, they can do much worse things than accessing MySQL. They would effectively own the server.
sudo vi ~root/.my.cnf
[client]
user=root
password=pass
PHP
PHP is the server-side language that much of the internet is built on, including WordPress. For this reason it is important to install it and make sure it is working.
sudo apt install php libapache2-mod-php php-mysql
This next step is not strictly necessary but I have had to do it more often than not. The default upload size in PHP is only 2 MB which is in my experience way too small. In order to upload my WordPress backup it would need to be at least 250 MB. I ended up making it 1 GB but this can be changed later if necessary.
sudo vi /etc/php/8.1/apache2/php.ini
#Change the default values on the following lines
upload_max_filesize = 2M
post_max_size = 1M
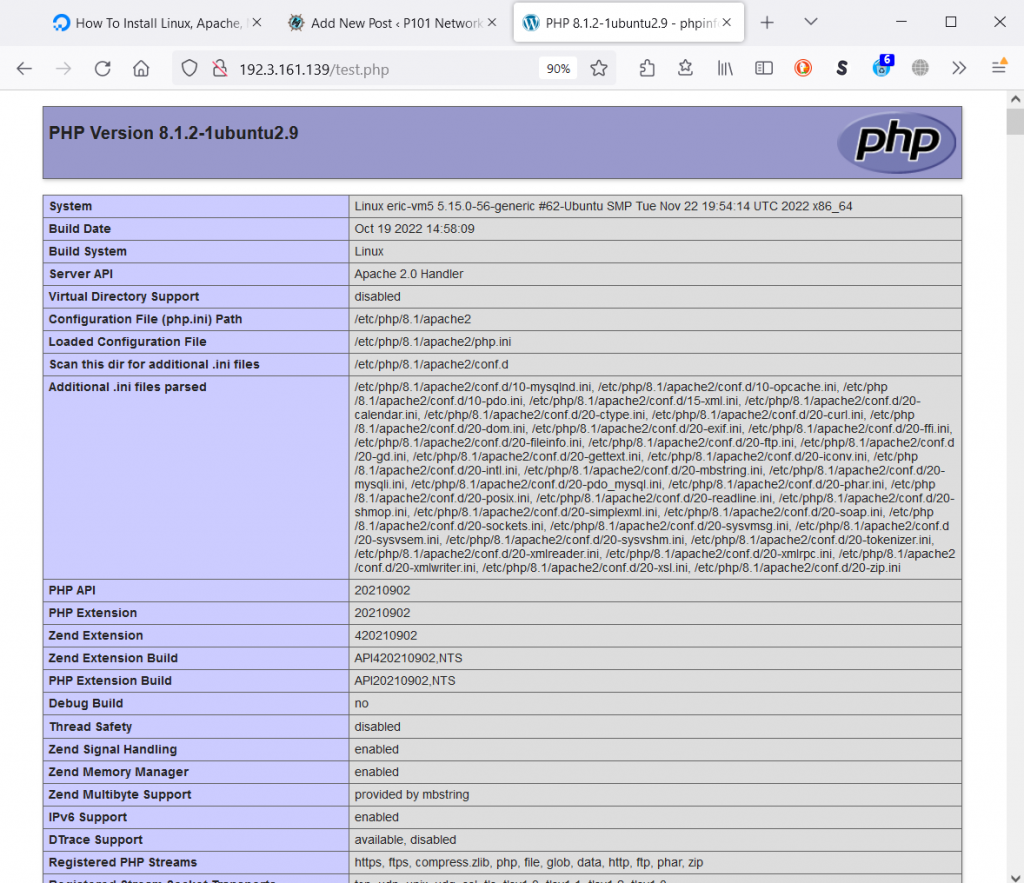
The PHP installation can be tested by creating a new webpage with the following contents:
<?php
getinfo()
WordPress
Creating MySQL DB and User
Similar to the LAMP tutorial, I found a Digital Ocean article going over how to install WordPress on a Linux server. Most hosting companies provide pre-built WordPress plans where the end user does not interact with a command line at all, but installing it manually provides much more control. All of the steps below I pasted from the linked tutorial in an effort to not reveal some of the possibly compromising information about my setup. This section creates the database and user that WordPress will use to store and display data.
sudo mysql
mysql> CREATE DATABASE wordpress;
mysql> CREATE USER 'wordpressuser'@'localhost' IDENTIFIED WITH mysql_native_password BY 'password';
mysql> GRANT ALL ON wordpress.* TO 'wordpressuser'@'localhost';
mysql> FLUSH PRIVILEGES;
mysql> EXIT;
Installing PHP Extensions
There are a few extra PHP extensions that WordPress uses in addition to the ones installed by default
sudo apt install php-curl php-gd php-mbstring php-xml php-xmlrpc php-soap php-intl php-zip
Instead of downloading and installing WordPress via apt like Apache, MySQL, and PHP, it comes as a compressed folder that must be grabbed from its source. Curl is the Linux utility which downloads while tar unzips the folder.
Downloading
curl -O https://wordpress.org/latest.tar.gz
tar xzvf latest.tar.gz
Restructuring
Once the folder is decompressed a few changes have to be made. For more information on the reason for these changes and what they accomplish, refer to the tutorial linked at the top of this section. The lasts step moves the unzipped folder from my home directory to the one that will be used to serve web content.
touch wordpress/.htaccess
cp wordpress/wp-config-sample.php wordpress/wp-config.php
mkdir wordpress/wp-content/upgrade
sudo cp -a wordpress/. /var/www/p101/nic
Reassigning Permissions
The next set of commands changes the permissions of each file within the WordPress folder to be used only by WordPress.
sudo chown -R www-data:www-data /var/www/p101/nic
sudo find /var/www/p101/nic/ -type d -exec chmod 750 {} \;
sudo find /var/www/p101/nic/ -type f -exec chmod 640 {} \;
Salting
To increase the security of this installation some randomness has to be added. WordPress has an API for generating these strings so that they can be pasted directly into the config file. Keep in mind that I did not use these strings in my installation, nor should you. Generate your own strings using the first line.
curl -s https://api.wordpress.org/secret-key/1.1/salt/
sudo vi /var/www/p101/nic/wp-config.php
#Lines in wp-config.php that need to be modified
define( 'DB_NAME', 'wordpress' );
define( 'DB_USER', 'wordpressuser' );
define( 'DB_PASSWORD', 'pass' );
define( 'DB_HOST', 'localhost' );
define( 'DB_CHARSET', 'utf8' );
define( 'DB_COLLATE', '' );
define( 'FS_METHOD', 'direct');

define('AUTH_KEY',         'blahblah12345678asdfjkl;wasdqwer101001109|o-82-vq>)c(W/wewm#zH.0#-g<');
define('SECURE_AUTH_KEY',  ']c=kl>K,[+,3%jw#blahblah12345678asdfjkl;wasdqwer10100110<4a;3&y`GB');
define('LOGGED_IN_KEY',    '&tqblahblah12345678asdfjkl;wasdqwer10100110#L*j]_r|P+G_]m3]B-am.A0');
define('NONCE_KEY',        '_[ `|-lm> pe%JQrqeU*?_cA,EfY)ul)blahblah12345678asdfjkl;wasdqwer10100110');
define('AUTH_SALT',        '?C]+A7HBY/.blahblah12345678asdfjkl;wasdqwer10100110bi9m|GcsF-T(Zp0mk');
define('SECURE_AUTH_SALT', 'J.V>LNblahblah12345678asdfjkl;wasdqwer10100110-pC|uHpW7g}a`)Kf5h ');
define('LOGGED_IN_SALT',   'z o/$:<%GC/BQU$Fblahblah12345678asdfjkl;wasdqwer10100110m$zj');
define('NONCE_SALT',       'TQ3>Z#UJgzd/blahblah12345678asdfjkl;wasdqwer10100110?&|yRE3&o^(V|');
Configuring Site in Apache
WordPress should now be successfully installed. In order to make the site actually visible a few things need to be set in Apache. As of right now the “It works!” default Apache page is the only thing that will show, but now that gets changed.
sudo vi /etc/apache2/sites-available/nic.p101.conf
<VirtualHost *:80>
        ServerName nic.p101
        ServerAlias www.nic.p101
        DocumentRoot /var/www/p101/nic
        ErrorLog ${APACHE_LOG_DIR}/error.log
        CustomLog ${APACHE_LOG_DIR}/access.log combined
</VirtualHost>
<Directory /var/www/p101/nic/>
        AllowOverride All
</Directory>
sudo a2dissite 000-default.conf
sudo a2ensite nic.p101.conf
sudo systemctl reload apache2
Visiting the site now displays the WordPress setup dialogue where you have to set the language, blog name, and other important parameters.
Restoring Backup
After reaching this point I can take a break from the command line. The first step is installing the All-in-One WP Migration plugin. Once that is done simply navigate to the “import” section of the plugin and select the desired backup file.
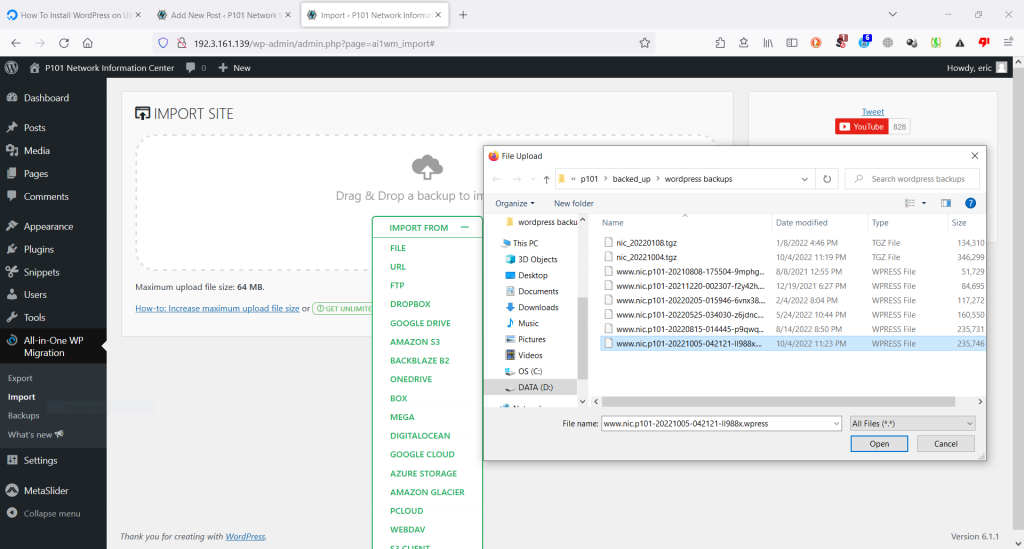
After reloading the page the WordPress installation should look exactly as it did when you first made the backup. All-in-One Migration’s solution works excellently and is totally free! I cannot recommend it enough. The only downside with this system is its reliance on YOU to actually make and store the backups. The latest backup I had was from the beginning of October so I unfortunately lost two months of content. I’m still working on getting it back but it’s looking more and more like I will have to rewrite these two posts.
I’m going to let the scope of this post end here, after installing the bare essentials and getting back on my feet with WordPress. There are still some things that need to be done before I would consider myself where I was before losing my previous server, but most of these steps are covered by my earlier content.
- Upload mirrored site content
- Copy over each sites’ Apache config files
- Update global Apache config file
- Point .p101 domain to this server
- Setup scheduled tasks
- Scrape Blogger sites into database