All of the websites I had downloaded up to this point were using the WinHTTrack utility. I love that program because it is super easy; you simply paste the domain of the website you want to download and click start. Depending on how large the site is you should have a fully cloned website within the next few minutes to few hours. And by fully cloned, I mean that you can open it on your computer and click through to different pages on the site without ever accessing the Internet. While this is easy and convenient, it is hardly the best method or most space efficient.
Instead of each webpage equaling one file on a server, most modern websites (i.e. those that don’t look like they are from 1995) serve content from a database. One page is one row in a database with a few images and scripts common to all other pages on the site. Storing a website in this manor cuts out a lot of overhead. For example, gunnersdaughter.p101 has a footprint of 6 MB when cloning the HTML with WinHTTrack. Scraping the API and downloading the images directly from their sources leads to a total of ~1.2 MB, where 37 kB of that is text and the rest is the image content. A more extreme example is paige.p101, which shrinks from 15 GB to just 4 MB of text and 549 MB of images.
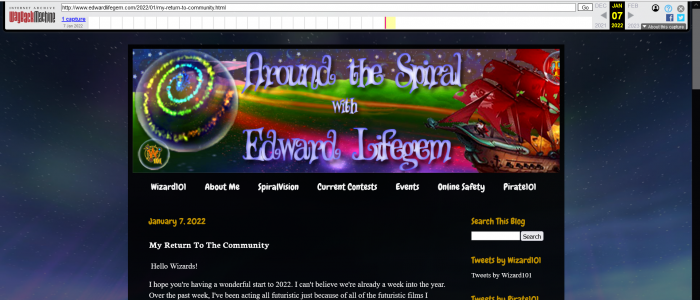
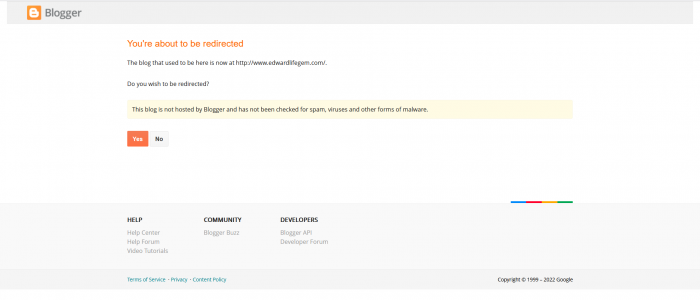
But the REAL reason I went through this effort was that Edward Lifegem’s domain name edwardlifegem.com expired. I became super worried at first because I hadn’t downloaded it using WinHTTrack. (This was because it was one of the most recently active sites so I didn’t want to have to constantly update it.) If a Blogger site uses a custom domain then they forbid people from accessing it via the [site-name].blogspot.com domain, so I though it was completely gone. But then I discovered that the API was still available and that the content was not immediately lost. I introduced the Blogger API a little in the Automating the “Last Active” Column post from April, but this time it is going to be a deep dive.
Blogger API
https://www.googleapis.com/blogger/v3/blogs/4778591506480749011?key=[API-key]
The URL above takes you to a page with information about the blog in general, but I extracted all of the useful stuff from it previously. For help with what an API key is and how to get one take a look at April’s post.
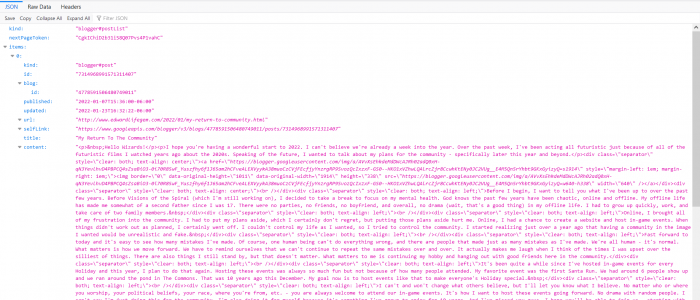
https://www.googleapis.com/blogger/v3/blogs/4778591506480749011/posts?key=[API-key]
This is where the meat is. As you can see in the video above, the URL takes you to a JSON page where you can expand different fields and get their content. Some fields have further nested fields, but others are empty. It may look like a mess right now, but the JSON structure makes navigating the file exceptionally easy in a programming language such as Python. An important field to note other than the 10 posts on this page is the nextPageToken. Instead of having easy to access webpages for each set of posts, you have to append the nextPageToken string next to your API key. This gets even more annoying at the end of the content because there is a chance that there will be a nextPageToken leading to a JSON page without any posts at all.
Preparing a Database
Using the same MySQL instance that I have been using the entire time, I create a new database to hold all of the content to be scraped.
sudo mysql
CREATE DATABASE [database name];
USE [database name];
Now we have a new, empty database. Databases themselves do not contain any data, but they hold tables which do. Think of a database like a folder on your computer: it exists to create structure. The next step is to create a table. Tables are not like text files where you can just dump whatever you want in them, their structure needs to be defined for each application. This is the point where you decide what information you want to keep and how it is defined. For my purposes I left out a few fields from the JSON above like selflinks and nextPageTokens. I’m not sure what etag represents but I kept it anyway just in case because each one is unique.
CREATE TABLE blog_posts(
     num SMALLINT UNSIGNED PRIMARY KEY,
     id BIGINT UNSIGNED,
     published DATETIME,
     updated DATETIME,
     url VARCHAR(255),
     title VARCHAR(255),
     content MEDIUMTEXT,
     author_id BIGINT UNSIGNED,
     replies VARCHAR(1),
     labels VARCHAR(255),
     etag VARCHAR(255),
) ENGINE=INNODB;
The general syntax for the table definition above is the name of the field and then its type. The different types of integers store numeric data of different sizes. Unsigned integers have just enough room to store the 19-digit number post and author IDs, but that’s overkill for the number of posts, which is in the low thousands. VARCHAR just means a string of text no longer than the number in the parentheses. Primary key indicates the order that the posts will show up when queried. It is not given in the API but num is just the numerical order the posts were made where 1 is the oldest. InnoDB is the way the data is formatted on disk and it will be important later for searching text. I have this definition here but the Python script I wrote actually does this for you.
CREATE USER 'username'@'localhost';
GRANT CREATE, INDEX, INSERT ON database.* TO 'username'@'localhost';
FLUSH PRIVELIGES;
exit
The lines above are for creating a user. Even though you can do everything manually inside of MySQL, external applications must have a user to connect to. Each user has specific permissions set so that it can only do certain things. This is to ensure that if a user is compromised it can only do the operations you have specifically allowed.
Python Code
In case you haven’t noticed yet, I really like using Python to scrape webpages. It is easy to get started with, forgiving, and versatile. The beginning of the script has a bunch of imported modules that will be used later. Some of these do not come pre-installed so you would have to get them using pip.
import requests
import json
import os
import mysql.connector
from bs4 import BeautifulSoup
import urllib.request
from pathlib import Path
import time
The first 100 or so lines after the imports are all to gather input so that the program knows which blog to scrape, where to put it, and what to call it. I’m not going to go over it too much but running the script should guide you through the process without too much pain. If it says that a table must be overwritten, you have to go into MySQL and run DROP TABLE tablename. But in general be careful with the DROP command because it deletes things without confirmations, warnings, or the possibility of recovery.
The majority of the script lies within the scrape function that is defined below all of the input checking. It takes the type of content as an input (either posts or pages) and then iterates through all ten items in each API page. This is actually not an incredibly hard thing to do, simply have a for loop go through each index of the JSON file and write the content into the database. The real tough part is downloading the images that are contained within blog posts and rewriting the underlying HTML to point to the new image locations.
In the original post an image may be linked using the following tag structure:
<a href=\"https://blogger.googleusercontent.com/img/a/AVvXsEhtVe4gF2_dpS8D81XkDUeWEzzILP7MmQ8vuwzhaBPhEOXraBmYGy1dlTBE4PV7mOKjxwcb9scdIKmEHNdTHJGQ4v4An5DdhlJ147JvcZNN5GsEloBrzPSSZtGuvjUh4QaBCQHSaH7WOv6oLOhGuGukxe2NgBTynK0Fk60XTQ8N8cCYho-9looFrgIhxQ=s1600\" style=\"margin-left: 1em; margin-right: 1em;\"><img border=\"0\" data-original-height=\"845\" data-original-width=\"1600\" height=\"338\" src=\"https://blogger.googleusercontent.com/img/a/AVvXsEhtVe4gF2_dpS8D81XkDUeWEzzILP7MmQ8vuwzhaBPhEOXraBmYGy1dlTBE4PV7mOKjxwcb9scdIKmEHNdTHJGQ4v4An5DdhlJ147JvcZNN5GsEloBrzPSSZtGuvjUh4QaBCQHSaH7WOv6oLOhGuGukxe2NgBTynK0Fk60XTQ8N8cCYho-9looFrgIhxQ=w640-h338\" width=\"640\" /></a>
There are two tags at play: the <img> tag displays the actual image itself while the outer <a> tag takes you to the source of that image when you click on it. After downloading the image and storing it in the web directory of my server I needed to replace the blogger.googleusercontent.com link to its new location: /var/www/p101/edward/img/7314968991571311407/BunnyRun.jpg. The content itself will eventually be hosted from /var/www/p101/edward as the root directory so images will be stored in /img. The leading / indicates that it is a fully-qualified location for the web server. If the current directory of a webpage was in /2022/01 (the structure of Blogger), then img/7314968991571311407/BunnyRun.jpg would translate to /2022/01/img/731… instead of /img/731…
<a href=\"/img/7314968991571311407/BunnyRun.jpg" style=\"margin-left: 1em; margin-right: 1em;\"><img border=\"0\" data-original-height=\"845\" data-original-width=\"1600\" height=\"338\" src=\"/img/7314968991571311407/BunnyRun.jpg\" width=\"640\" /></a>
Now that the content of each blog post/page has been rewritten with the new image location it is time to download the image itself. This process is much easier than it would seem because it is just a few lines of code. The reason for the try/except sections is in the even the image no longer exists in the location it was linked from. In that case the post/page id along with the URL of the image are recorded in a text file for later inspection. I plan on downloading these images through the Wayback Machine manually.
try:
    urllib.request.urlretrieve(max_size_url,target_dir+"/"+img_title)
except Exception as e:
    missing_images.append((i["id"],img_url))
With the images downloaded the content of each post/page can be inserted into the database. A string containing all of the data has to be concatenated together to represent each field. All strings have to be enclosed by either single quotes or double quotes, and quotes in the content themselves have to be escaped using a backslash. I use double quotes for fields that have text entered by the author because single quotes are not automatically escaped in the API. The general syntax of the insert statement is as follows.
INSERT INTO blog_posts(num, id, published, updated, url, title, content, author_id, replies, etag) VALUES(52, 1881263613539353649, '2011-04-20 11:41:00', '2011-04-20 11:41:36', 'http://www.edward.p101/2011/04/abracadoodle-2.html', "Abracadoodle #2", "<img src=\"/img/1881263613539353649/8ad6a4041c2ab8c3011c33c1626f0190_1.jpg\" />", 15969585017385102240, 'n', 'dGltZXN0YW1wOiAxMzAzMzE3Njk2NzU2Cm9mZnNldDogLTE4MDAwMDAwCg');
After having inserted all of the content, there is one last step. In order to make the content of each post content and title searchable in the future a fulltext index must be created. There are a few ways to do it, including creating the index in the table definition. This would work but it would have to recalculate the index each time a row is added. What I did was:
CREATE FULLTEXT INDEX index_title_content ON edward_posts(title,content);
The same process was repeated for comments. If the replies field in the API for a given post is greater than zero then the program iterates through the comments API page and downloads relevant information. Just like before the comments were inserted into their own table with a fulltext index. And once the posts scrape was completed the same was done for the pages. Even though pages can have comments the API does not store this info. After everything is in the database I will have to go in manually and insert everything.
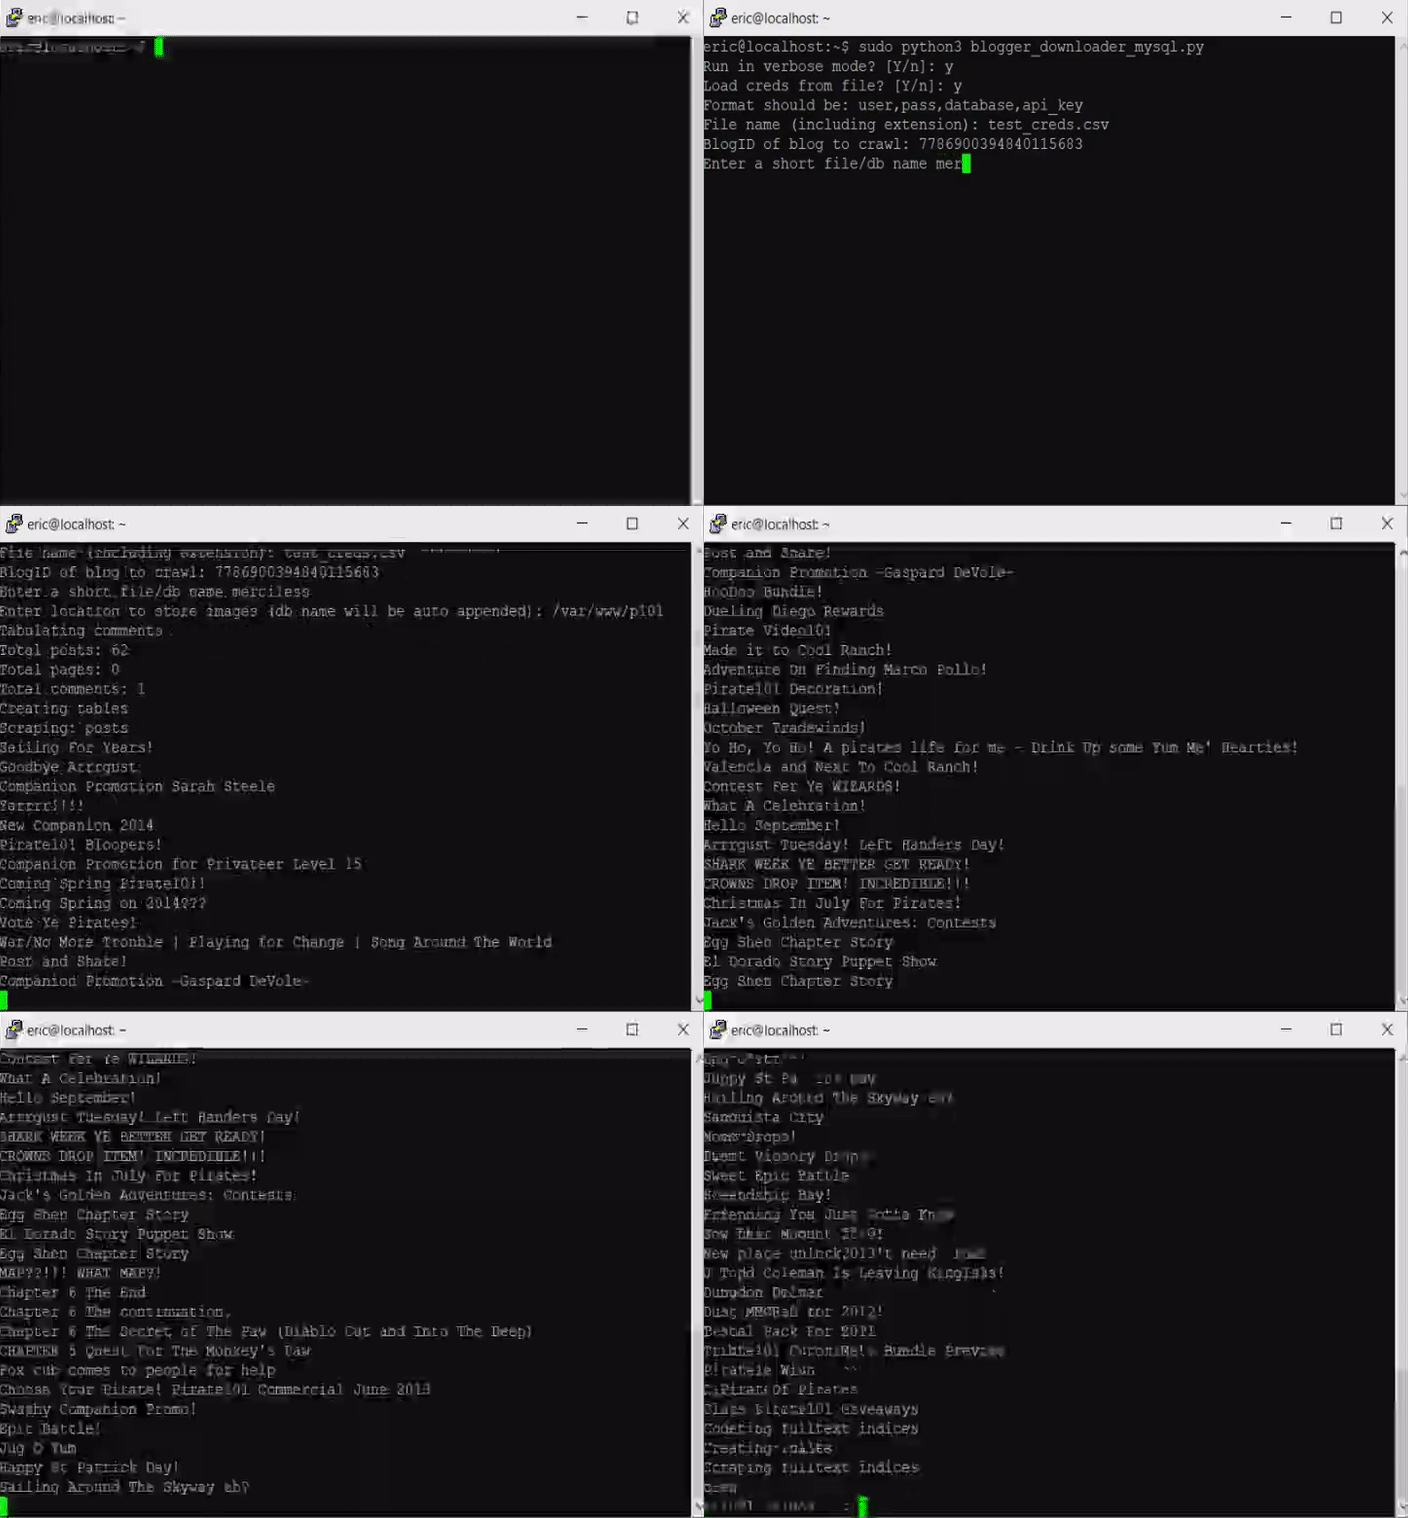
I encountered a few frustrating hiccups along this journey. A real head-scratcher was how to get the filename of images hosted from the blogger.googleusercontent.com domain. It’s not in the URL itself so I actually had to read the HTTP headers for the name of each image. In one post I found an incorrect HTML tag which was <img> instead of <a>. I’m not sure why or how this happened but I have an if clause to deal with it in case it’s not an isolated event. One title was just “Edward” with the quotes included so it messed up my method to escape quotations.
But yeah that’s how I downloaded all of the content from a Blogger website using the provided API. Now I can re-host everything (since Edward Lifegem’s Around the Spiral is no longer available for anyone except Edward himself), but that is a post for another time. I kind of cheated for this post; I started writing it on the last day of June so I could get an entry in for that month while I didn’t finish writing it until today (July 4th). But I had working code on that day so I don’t feel too bad about it.
